

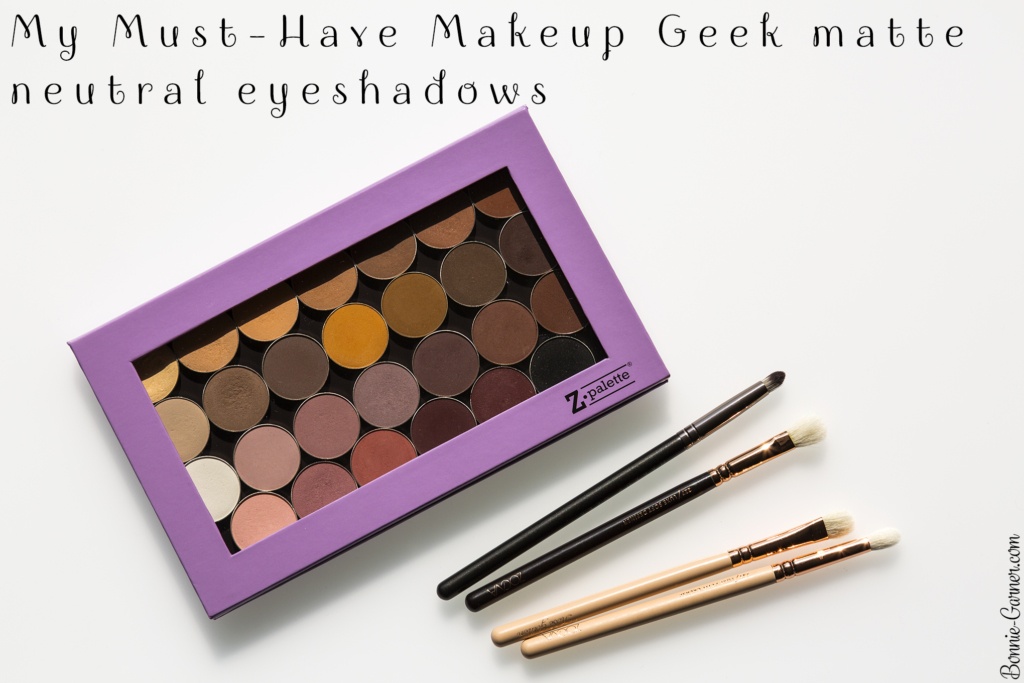


I just decided that 2017 will be the year I’m keeping my promises (well, at least, here on this blog! wink ) Therefore, I will finally show you my Must-Have Makeup Geek neutral matte eyeshadows!
It’s been at least two years since I wanted to do this post and my collection of Makeup Geek eyeshadows (or MUG) has considerably grown over the years. I knew this article was going to take me a while because I have plenty of things to tell you about them. (and also, I’m just lazy tongue )
Besides, this one will probably be the first part, because I also want to tell you about my satin MUG eyeshadows as well as my Duo-Chrome and my Foiled ones.
Reminder: Makeup Geek eyeshadows, how does it work?
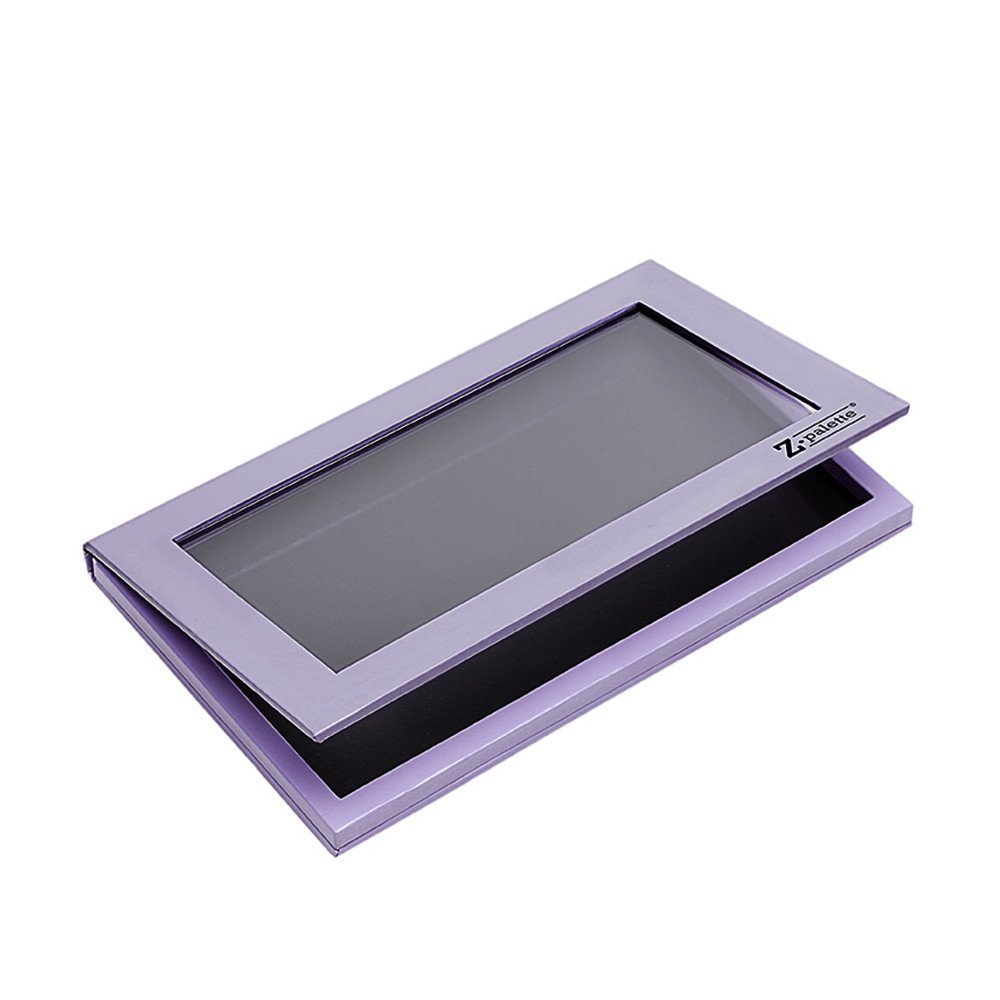
The MUG eyeshadows are sold as a refill (or "pan"), which you usually need to purchase piece by piece and then placed in a ZPalette, or a empty magnetic eyeshadow palette that you need to purchase separately (ZPalette is the most famous brand, but there are other equivalent out there).
This system is ideal for makeup artists but also for amateurs like me who want to build a personalized palette with their favorite colors.
Be aware, this post is a long one! (I’m currently translating it from French, and I already hate myself lol)
Today, I’m going to tell you more about Makeup Geek, which is probably my favorite makeup brand for eyeshadows (yes, it even replaced MAC in my heart). I will focus on my MUG neutral matte shades in this first part because I have a lot of them. I didn’t put them all in this article because I have some others that I use less and I confess that there are also some new colors that I want to add to my collection and I will probably do another review for them (in 2 years?) (Lol).
I will also tell you how I use them in my eye makeup looks.
Why is Makeup Geek one of my favorite makeup brands?

I already spoke about Makeup Geek on this blog two years ago, but I just wanted to tell you the four reasons why I love MUG and why I want to support them (by buying their products and talking about them here):
- 1. I really admire Marlena, the Makeup Geek founder:
Marlena has a real entrepreneurial spirit, and I find her approach of cosmetics sincere and honest.
For the record, she started in 2011 with a blog and a YouTube channel where she used to show makeup tutorials, and she began gradually selling products from different brands on her blog (which became her website). And then very quickly, she decided to create her own makeup brands. So she dropped her work as a piano teacher, and she started making makeup products while she was still filming videos for her YouTube channel. You can really feel her professor past in her videos because her reviews and tutorials are always very informative and educational, which I appreciate a lot.
And you can also feel her experience as a blogger/ YouTuber in the products she creates (they’re usually very user-friendly) and she is extremely attentive to the feedback of her clients.
- 2. Makeup Geek is very attentive to its customers:
The brand’s growth happened thanks to word of mouth but also mainly thanks to social media. As a blogger and YouTuber, Marlena understood the importance of these new media channels and made quite a few successful partnerships with other YouTubers.
But unlike some brands which only use social media to communicate and talk about their products, MUG also uses them to maintain a very close relationship with their customers.
It’s one of the most responsive brands I know! If you have a question about a product or an order, you can contact them directly via Twitter for example, and the brand will quickly respond. Their customer service is great, very attentive, always ready to offer you a solution if there was a problem with your order (it doesn’t happen often, but sometimes as people say,”shit happens”). In short, regarding the consumer experience, they are very good IMO!
- 3. Makeup Geek is a human-sized company:
The brand is booming at the moment, but all the production is still done in the United States (MUG has its own laboratory), and you can feel it’s still a relatively small company, with not a lot of employees, compared to colossal cosmetic companies that usually own laboratories all over the world.
I’m glad I’m able to support a business that manufactures in the USA where I’m sure that the employees are decently paid and that I won’t end up with a product made by a child/ slave/ an overexploited employee with no salary (or barely).
- 4. The value for money is excellent:
The quality of their eyeshadows is really good. Their formula is talc-free and cruelty-free.
Obviously, some shades are better than others, but overall, I find them easy to blend and well pigmented. They last very well on me and don’t crease.
And their selling price is very reasonable: $6 each for 1.8g. As a comparison, a MAC eyeshadow in France retails for the equivalent of $14 for 1.5g, and here in the UAE, they retail for the scandalous price of $25. It’s insane! But I know in the US, MAC recently priced down, and from now on, they sell their eyeshadow refills for the same price as MUG: $6. (Coincidence? I don’t think so. wink )
Neutral matte eyeshadows: how to use them? (aka the eye contouring)
In short, I use my matte neutral eyeshadows to “sculpt” my eyelid, which means I basically use light and dark shades to give volume or depth to my eye makeup.
Does that remind you of something? Normal: it’s the principle of contouring! This technique works both for the face and the eyes.
- First step, I use light shades to catch the light and make the eyes pop:
I use them:
– on the brow bone,
– in the inner corner,
– on the center of the eyelid.
This technique works equally well with matte or shiny shades (satin, metallic or even glitter). Matte eyeshadows give just a softer and natural look.
- Second step, using crease shades:
These are generally light to medium shades, neither too light (they must be darker than the skin color), nor too dark (unless you want a more dramatic makeup look ).
I use them mainly in my eyelid crease. These shades give a shadow effect and adds depth to the look. But they also soften the makeup because it gives a more blended effect.
For your eye makeup, you don’t want sharp lines, so you need to blend and mix the colors together as much as possible because the effect will be more “natural”. So especially if I apply a color on my eyelid, I never forget to use a transition shade to blend this first color seamlessly with the natural color of my eyelid.
You can use one or more transition shades, light to medium, for a nice gradient effect.
- Third step, adding definition with darker shades:
These are in a way the “liners” of makeup. I use them along the lash line (lower or upper) to give the impression of fuller lashes.
But I also use them in a more diffuse way in the outside corner of the eye (the outer V), as a kind of elongated V shape to give an impression of an almond eye shape.
I don’t use this technique all the time because it gives a more smoky/ dramatic aspect to the makeup look and for every day, it’s not necessarily the look I want.
(You will notice that in my choice of MUG neutral matte shades, I don’t have a lot of very dark shades. They aren’t the ones I use the most! wink )
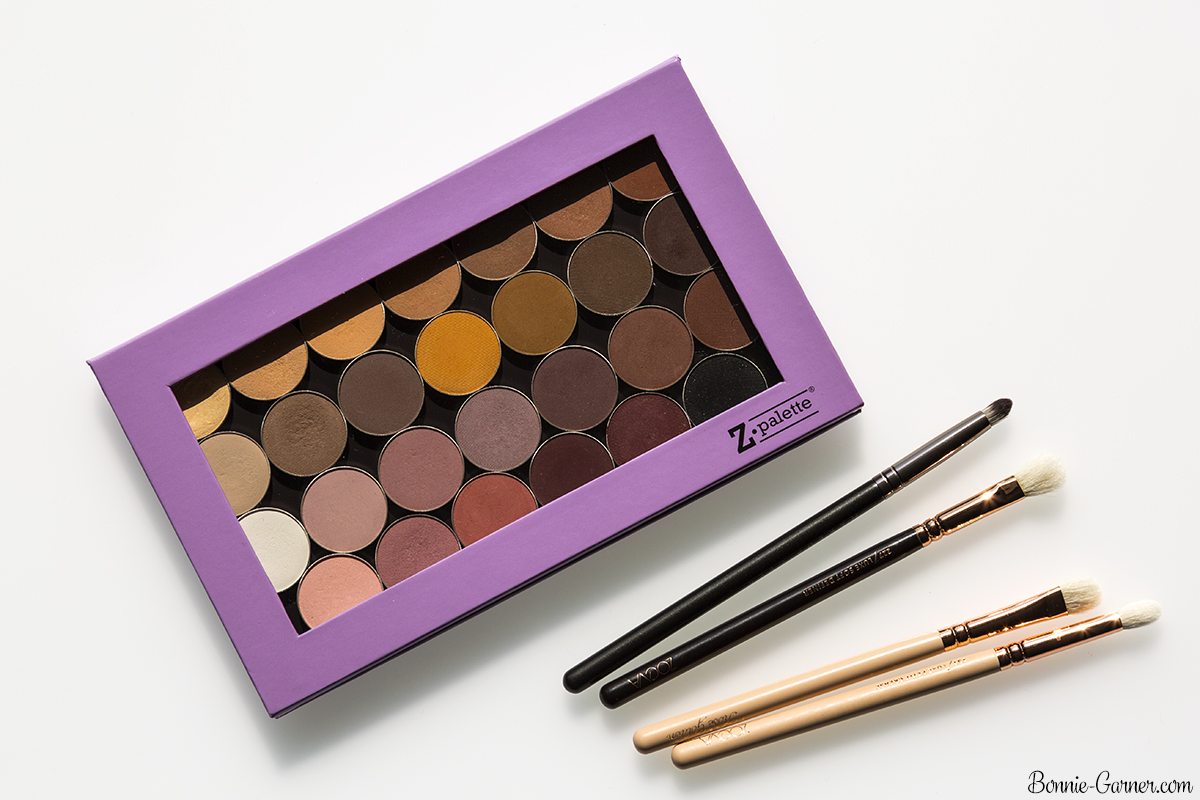
My Must-Have Makeup Geek matte neutral eyeshadows:

Before describing each shade, you will notice that my selection of colors is quite focused on neutral colors with warm or pink undertones. I chose my makeup according to my taste of course but also my eyes and skin color.
So in short, my Must-Have shades may not be yours, even if I must say that neutrals warm colors look gorgeous on everybody IMO! wink
– Mirage:
A buttery cream shade, slightly yellow, which I use mostly all over the entire eyelid. It’s not completely matte, it’s a slightly satin finish. It’s very luminous. The color is a little more yellow than my natural eyelid color, so I mix it sometimes with Sorbet or White Lies to lighten it a little.
– Beaches & Cream:
A very light orangy beige. When I have a tan, I use it as a base shade, which I apply on the entire eyelid. But it can also be used as a very light transition shade.
– Peach Smoothie:
A very pretty orange/ peach shade. It’s stunning as a transition shade because it gives a fresh and luminous look to the makeup.
– Crème Brûlée:
A light orangy brown, like a caramel color. It has a rather warm undertone. This is one of my favorite transition shades. It goes with almost everything, I use it very often.
– Latte:
Probably my favorite transition shade. It’s a true neutral light brown. It’s probably my most used crease color, I adore it! wink
– Frappé:
A light brown with a slightly pink undertone. It’s semi-matte so quite luminous. I also use it a lot as a transition shade.
– Cocoa Bear:
A medium brown with a slightly red undertone. It’s a little darker than the others and it’s quite warm. I use it as well as a transition shade but also on the outer V to give more definition.

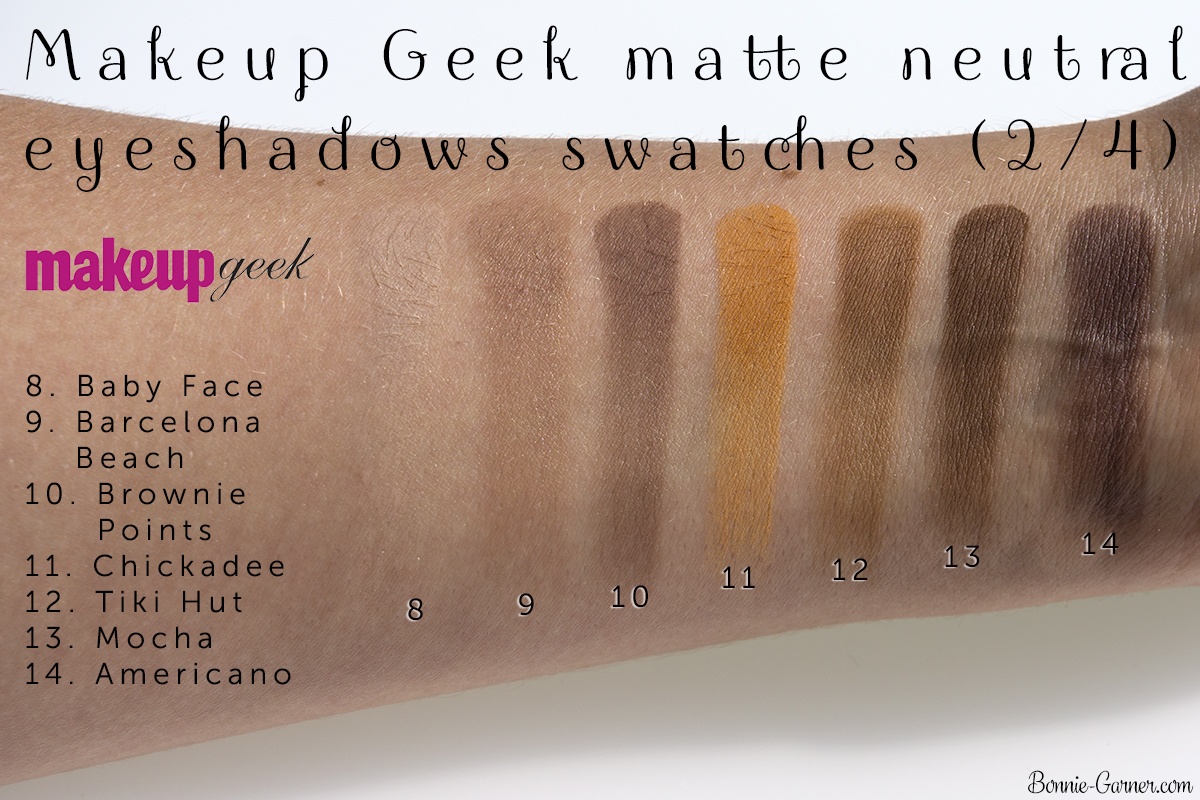
– Baby Face:
A very light neutral beige, which I use as an “eraser” when I blend a color too high on the eyelid, for example.
– Barcelona Beach:
A very pretty light beige taupe, with a cool undertone. My favorite transition color for cooler makeup looks. I’m not a fan of grey smoky eyes that don’t suit me at all, but on the other hand, I really like shimmery taupe shades, and Barcelona Beach goes great with this kind of shades! smile
– Brownie Points:
A light taupe shade, almost gray and with a very light pink undertone. I use it also as a transition shade.
– Chickadee:
I discovered Chickadee rather late, I was scared by this color at first but now I really like it! It’s a very beautiful yellow-orange, quite bright. I use it as a transition shade or even applied all over the entire eyelid. Well blended, it’s not as “neon” as you might think and it really brings out the blue of my eyes.
– Tiki Hut:
I love this color! It’s a very pretty medium brown with a yellow undertone. In other words, an ochre shade! wink I find it stunning used as a transition shade, it gives a little something, a ‘je ne sais quoi’ as we say in French, to the look while remaining neutral and easy to wear.
– Mocha:
A very practical neutral brown color. I use it especially to give depth in the outer corner of the eye or as a dark transition shade.
– Americano:
A very nice chestnut brown, with a slight plum undertone. I like it very much in the outer corner or in the crease.
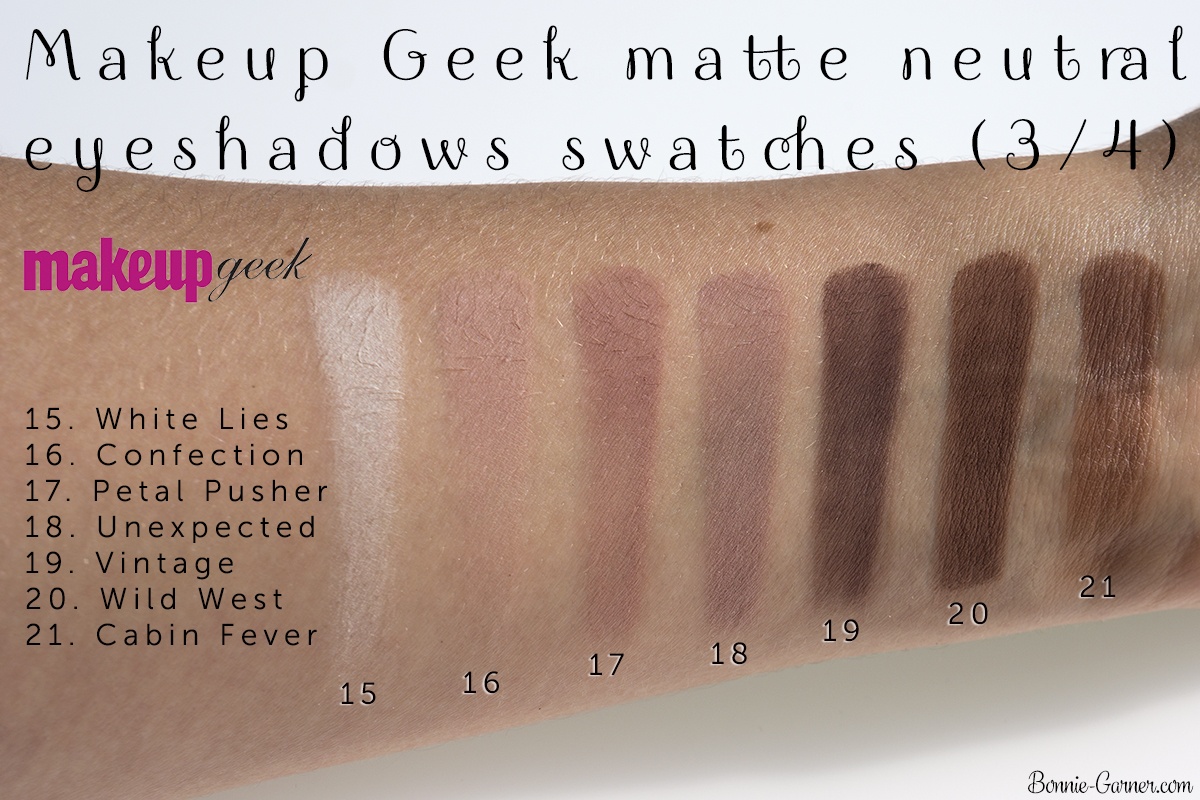
– White Lies:
A real white shade. I use it alone to brighten or mix with another eyeshadow to lighten it up.
– Confection:
A beautiful light pink shade. I use it as a very light transition shade, to blend darker colors.
– Petal Pusher:
One of my favorites! A stunning dusty rose (yep, the dusty rose obsession works for eyeshadows too lol) that I’m obsessed with. I use it as a transition color and applied over the entire eyelid. With my blue-green eyes, this kind of colors is very flattering!
– Unexpected:
Before Petal Pusher, I was obsessed with Unexpected. I still love it a lot but a little less than Petal Pusher. wink It’s a pinkish gray, perfect used as a transition color with pink makeup looks.
– Vintage:
A very pretty medium purple taupe. I use it as a transition shade, in the outer corner or along the lashes.
– Wild West:
A medium pinkish brown. I find it stunning and very flattering. I use it as a transition shade, in the outer corner or along the lashes.
– Cabin Fever:
A medium brown with a red undertone. I love the color, but its pigmentation is a little weak, compared to the others… You can build it to get more coverage, though. However the color is very pretty! I use it as a transition shade, in the outer corner or along the lashes.
– Sorbet:
A beautiful light peach shade that I use mostly all over the eyelid, mixed with Mirage. It’s very luminous.
– Cupcake:
A warm medium pink. Lovely used as a transition shade.
– Tuscan Sun:
One of the most colorful shades on the palette! It’s an orangy pink, like a salmon shade. This one works very well in the crease but also applied on the eyelid for a more colorful look.
– Cherry Cola:
One of my favorites! A gorgeous plummy brown, very flattering that I use especially in the outer corner and along the lashline to give depth to the eye look.
– Bitten:
A luminous burgundy that I also use in the outer corner and along the lashline but also on the eyelid for a pretty plum smoky look! smile
– Corrupt:
A true intense and super pigmented black. It contains micro-mini shimmery particles, but they don’t show on the eyelid, they just give a silky finish to the color. I don’t often use black in my makeup looks, but it’s always useful to have one in a palette to add intensity or make a black smoked liner.

So, if I sum up:

– Base and highlighting shades:
Mirage, Beaches & Cream (when I have a tan), Baby Face, White Lies, Sorbet.
– Transition (or eyelid) colors:
Beaches & Cream, Peach Smoothie, Crème Brûlée, Latte, Frappé, Cocoa Bear, Barcelona Beach, Brownie Points, Chickadee, Tikki Hut, Mocha, Confection, Petal Pusher, Unexpected, Vintage, Wild West, Cabin Fever, Cupcake, Tuscan Sun, Bitten.
– Definition shades:
Cocoa Bear, Mocha, Americano, Vintage, Cabin Fever, Cherry Cola, Bitten, Corrupt.
And if I had to choose only ten shades?
I hate to choose (I’m kind of a hoarder, I think it’s pretty obvious lol!) But if I had to reduce to only ten eyeshadows, it would probably be these:
Mirage, Crème Brûlée, Latte, Cocoa Bear, Barcelona Beach, Tiki Hut, Americano, Petal Pusher, Vintage, Cherry Cola.
I hope this very long blog post will be useful if you consider buying Makeup Geek neutral matte eyeshadows! wink
They are available on Makeup Geek website for $6 or on Beauty Bay for 7,20 euros (or 6 pounds) if you live in Europe.
And you, do you know Makeup Geek eyeshadows? Which are your favorite neutral matte eyeshadows from the range?
Photo credit: bonnie-garner.com, Zpalette