


If, like me, you are tired of redoing your manicure every 2 days, the following post will probably interest you…
Over the past few years, I’ve been wearing nail polish a lot and I love changing colours. The one thing I’d like to change, is that my manicures and the lovely varnish I spend a long time putting on my nails, can last for more than 2 days…
I see a lot of girls with chipped varnish on their nails, and I’m a bit of a maniac and obsessive, so I just hate it! When I have a nail that begins to chip, I don’t see anything else, it obsesses me. You know that crazy chick lugging her nail-varnish bottle in her bag for touch-ups during the day just in case, well hello, that’s me!
In Paris, my friends and colleagues were very amused by this crazy tendency, but I confess, I find chipped nail polish very ugly, just saying!
So I’ve been looking for the perfect top coat for a long time, but it is only recently that I realized some important things:
- The fast drying top coats are not supposed to improve the resistance of the nail varnish underneath. They speed up the drying process, that’s about all.
- The ultra shiny top coats have a good formula to improve the shining effect and the resistance of the nail varnish, but they are terribly long to dry.
- The top coats that are supposed to improve the resistance of the varnish, same thing, they take forever to dry but they are efficient. Some formulas are definitely better than others.
- The drying drops are fantastic, they resolve the 2 types of problems mentioned above (2 & 3) and do not reduce how long your nail varnish lasts.
- Applying very thin coats of a product definitely helps to obtain a long-lasting manicure.
- Some base coats can also improve the adhesion of the nail varnish.
- If your nails are soft and/or split, pretty much whatever you do, your nail varnish won’t last very long anyway. Sad but true…
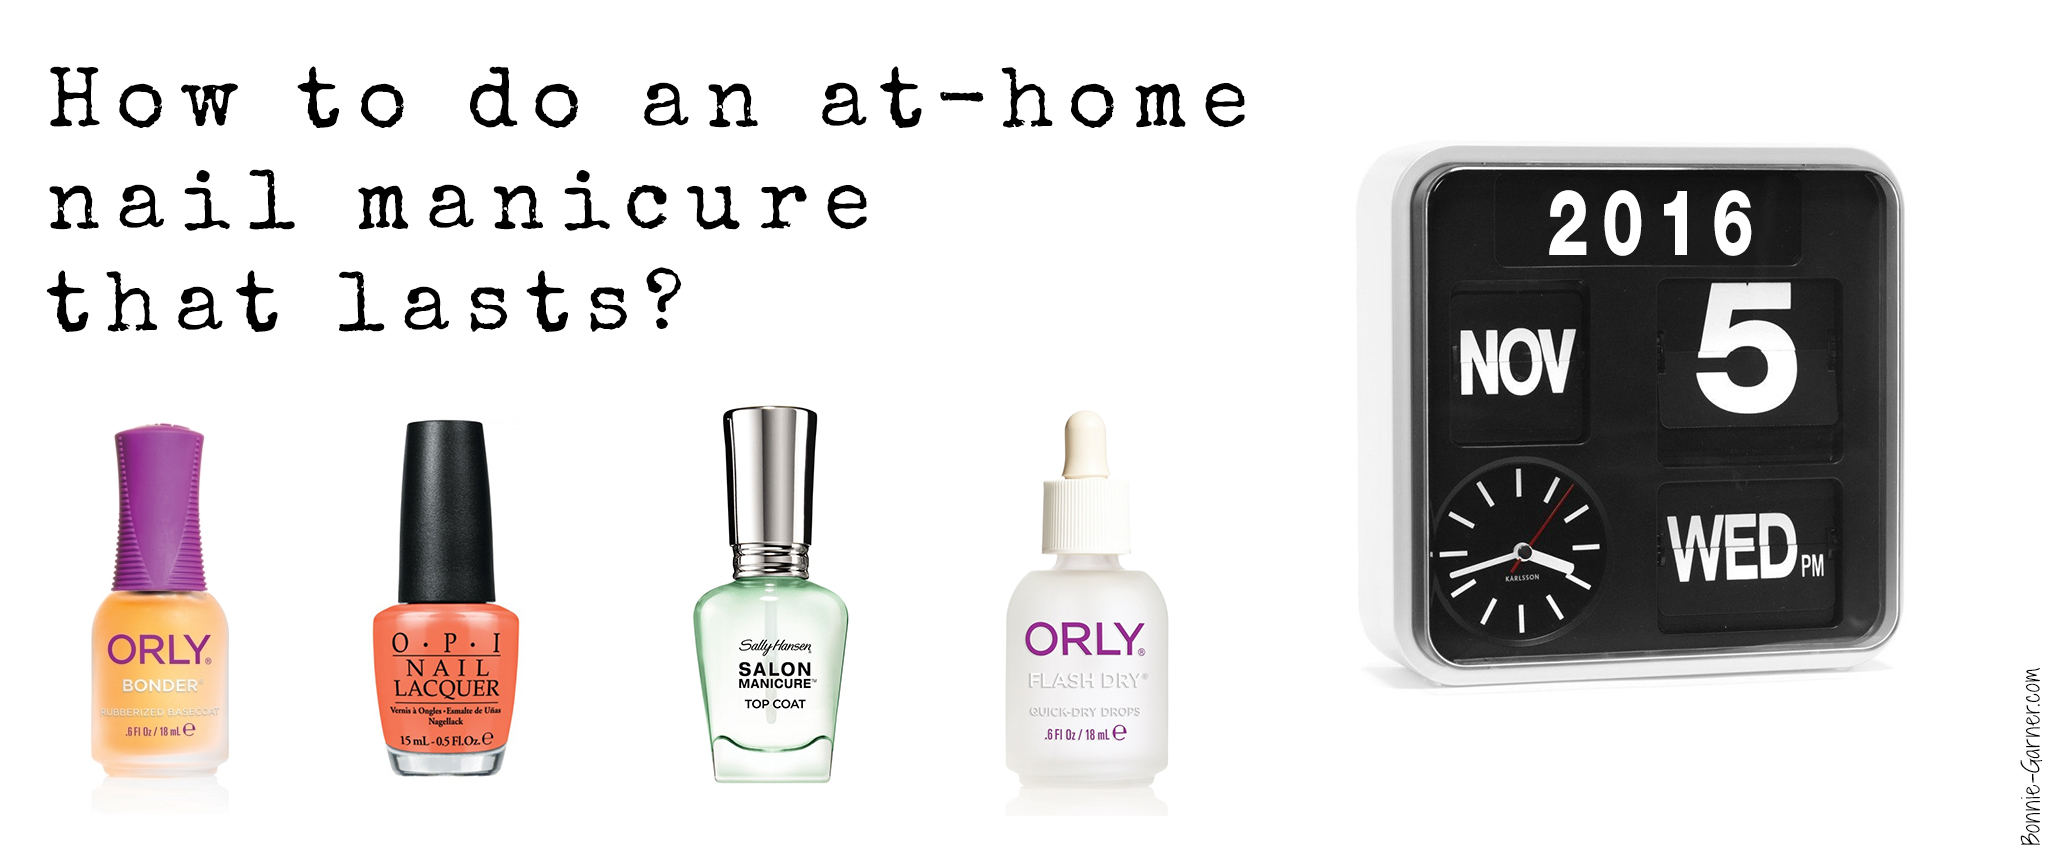
So, what are the tricks for an at-home nail manicure that lasts, at least 2 or 3 days?
-
Prep the nails:
If your nails are long but split, the nail varnish won’t last well so no point keeping those long but split nails: just cut them!
Usually, I start by cutting my nails with nail scissors (less traumatic than clippers) and I file my nails with a glass file (same principle, it’s more gentle on the nails), preferably in the same direction (going back and forth with the file,yes it’s faster, but the nails may well split more).
If they are too soft or too split, I do a treatment for a week or two to strengthen them. Strengtheners can be used as a base coat, nail varnish is allowed during the treatment wink
My favorites at the moment: Vitry, OPI Nail Envy (the orange one) or Essie Millionails.
Just remember to put some oil on the cuticles (this one, for example from The Body Shop) to protect from the strengthener before applying, it has a tendency to dry the cuticles a lot.
But before starting the manicure, it is better to remove any grease from your nails. An “oily” nail has less adhesion, meaning your nail varnish probably won’t stick to the nail as much, so won’t last as long. Generally, I wash with some soap and water, and then it’s taken care of!
-
The base coat:

Orly Bonder Base coat

I just found a new base coat for nails that is supposed to improve the resistance of the manicure, the Orly Bonder, with extracts of rubber. Indeed, it is interesting for these kind of products to have some flexibility because it will protect the manicure against shocks, and therefore avoid the chipping…
For my part, I am still not convinced of its effectiveness and the added lasting power it gives the nail varnish. I did not notice any particular difference, but it’s still an excellent base, very fine and dries quickly. So, perfect for an at-home manicure!
I came across it completely by chance, at a salon that sells it, Glow Salon in Jumeirah 3.
Here in Dubai, the brand Orly is distributed by Sawaya International, and you can also find the products online (on Amazon, for example).
-
The nail varnish:
Frankly, the brand does not really matter, the colour will be the most important obviously! Well of course, a cheap nail varnish will not have the same quality as a professional one (OPI or Orly, for example), for sure…
Here, the most important thing is to apply 2 thin coats.
Some nail varnish textures are easier to apply than others. In the same brand, you’ll sometimes find a lot of difference between the textures!
Unfortunately, the trick whereby you wait until each coat dries before applying another, well I’m really not sure it changes much about how long the manicure lasts… If you don’t agree, do share your experience in the comments! wink
-
The top-coat:
I think the top-coat is the key for a longer-lasting manicure. Depending on the formula, the mani will last longer or not. So, as I said above, if I want a long-lasting manicure, I prefer a top coat designed specifically to improve the duration of the manicure.
Is it better to apply it on ‘dry’ nail varnish rather than immediately after applying the second layer?
I would say it really depends on the formula of the top coat.
Some will be more effective on a wet nail varnish and ‘bind’ with the formula therefore increasing its longevity. Others will tend to ‘dilute’ the varnish if applied on nail varnish that is too wet, so it is better to wait a bit before applying it.
A great tip for an extra long-lasting mani:
When you apply your top coat on your nails, start by applying a small amount of the product on the tip of your fingernail, covering the extreme edge of your nail and even a little bit under your nail (if it’s long enough), as if you wanted to ‘close‘ it. And then you put your top-coat on your nail normally.
It really helps the tip of the nail to not chip!

Sally Hansen
Salon Manicure
Ultra-Wear
Top-Coat
About my top-coat:
I found a top coat that I find really great at maintaining the life of my nail varnish: the Sally Hansen Salon Manicure Ultra-Wear top coat. I really saw the difference and how long my manicure lasted with this product.
Here in Dubai, you can find the Sally Hansen brand everywhere (I found it in Carrefour!).
Perhaps this is the one, perhaps it’s my Holy Grail top-coat!!! It really protects my nails for a really long time and it has a high-gloss finish.
It needs to be applied to a dry varnish, which for me means that I have to wait 10 minutes after applying my second coat of varnish. And yes, it’s annoying to wait 10 minutes, I confirm, but hey, I say to myself that I won’t have to redo my manicure again two days later…
As far as ‘cons’ go, it has a massive flaw…it takes a really long time to dry, and I mean a really long time, I’ve never seen it anything like it!
The first time I did my manicure it was late afternoon, then I went to bed around 11 in the evening. I woke up the next morning and there were marks of my sheets on my nails.
Seriously, Sally, 5 hours later and it’s still not dry??

Orly Flash Dry
To (partially) get around this problem, I use my secret weapon: Orly Flash Dry Drops*: it accelerates the dry time on freshly lacquered nails. I apply it 1 or 2 minutes after applying my top coat, the dropper tip curved is super convenient! The required amount, 1 or 2 drops per nail is enough.
It’s easy and it does not dilute the varnish.
I’ll be honest, my manicure was not dry after 10 minutes (top coat Sally Hansen has a terrible drying time) but after an hour I was really quiet. (I know, it’s a bit pathetic) (say this is the manicure that made the weekend) (but that will last the week!)
Another great tip to make sure your manicure really lasts for 1 week:
After 2-3 days, the varnish is still not chipped, but the brightness is a little less than it was, so I reapply the top coat using the same technique that I described above (the edge first and then all over the nail), I wait 2 minutes, I put my little Orly Flash Dry Drops and ‘voilà’ in 10 minutes, it’s all good (since everything underneath was already dry).
Sounds a like a fair amount of maintenance, but at least it avoids the need to totally redo your nails every 2 days.
Here is a photo of my nails after 6 days not bad hey (a part from a few small marks from my sheets on some nails)!? The shade is from OPI’s new Brazil collection: “Where Did Suzi’s Man-Go” (Australian site link as main site is painfully slow to look at).

Mani Day 6
What about you, have your got any clever tricks up your sleave to make your manicure last?
Photo credits: Orly, Sally Hansen, OPI, bonnie-garner.com
* The Quick Flash Orly I reviewed here was a PR sample given to me by the brand.
Cet article est aussi disponible en version française: Comment se faire une manucure qui dure?